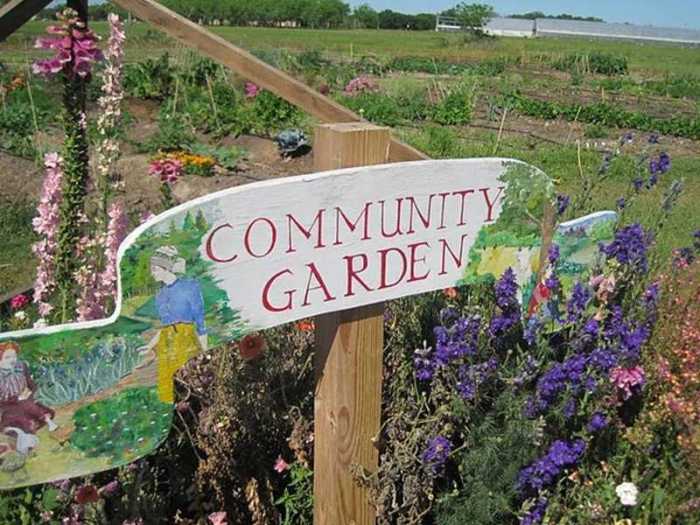
Embark on the journey of creating a vibrant community garden with just 3 simple steps. From planning to engaging the community, learn how to cultivate a green oasis in your neighborhood.
Discover the key elements of each phase and unlock the potential of gardening to foster unity and growth among residents.
Planning Phase
In the planning phase of starting a community garden, it is crucial to take several key steps to ensure the success of the project. This phase involves identifying community needs that a garden can address, researching the best location for the garden, and determining the size and layout of the garden plots.
Identify Community Needs
Community gardens can serve various purposes, such as providing access to fresh produce in food deserts, promoting community engagement, and offering educational opportunities. Before starting a garden, it is essential to identify the specific needs of the community that the garden can address. This could involve conducting surveys, meeting with local residents, and collaborating with community organizations.
Research Location
Finding the right location for a community garden is crucial for its success. Consider factors such as accessibility, sunlight exposure, soil quality, and water availability. It is also important to ensure that the chosen location has the support of local authorities and community members. Researching potential locations thoroughly will help ensure that the garden thrives in its environment.
Determine Size and Layout
Once a location has been chosen, it is important to determine the size and layout of the garden plots. Consider the number of gardeners who will be participating, the types of crops to be grown, and any specific needs of the community. Creating a detailed plan for the size and layout of the garden will help ensure that resources are used efficiently and that the garden meets the needs of the community.
Setting Up the Garden
Starting a community garden involves selecting the right plants, preparing the soil, and establishing a maintenance routine to ensure the garden thrives.
Choosing the Right Plants Based on the Local Climate
- Research plant varieties that are suitable for the local climate and soil conditions.
- Consider factors like sunlight exposure, temperature variations, and water requirements when selecting plants.
- Consult with local gardening experts or agricultural extension services for recommendations on plant species that thrive in the area.
Preparing the Soil for Planting
- Test the soil to determine its pH levels and nutrient content.
- Amend the soil with organic matter, compost, or fertilizers to improve its quality and fertility.
- Remove any weeds, rocks, or debris from the planting area to create a clean and suitable environment for the plants.
Establishing a Watering Schedule and Maintenance Plan
- Develop a watering schedule based on the specific needs of the plants and the local climate conditions.
- Install irrigation systems or set up a manual watering routine to ensure plants receive adequate moisture.
- Create a maintenance plan that includes tasks such as weeding, pruning, pest control, and regular inspections for plant health.
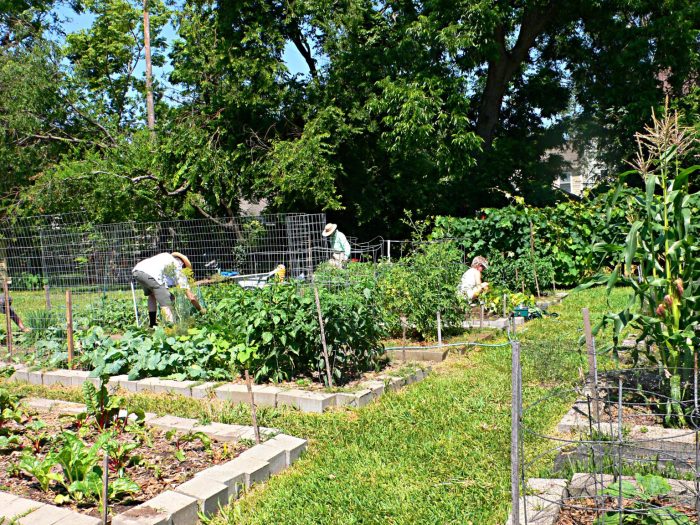
Engaging the Community
Engaging the community is a crucial step in maintaining a successful community garden. By involving volunteers and participants, you can create a sense of ownership and pride in the garden, fostering a strong and supportive community.
Organize Volunteer Days
Organizing volunteer days for planting and maintenance can help bring people together and build a sense of teamwork. It also allows community members to contribute their time and effort to the garden, creating a sense of investment in its success.
- Set up a schedule for volunteer days, making sure to include a variety of tasks for participants to choose from.
- Provide tools and equipment needed for gardening tasks, ensuring that everyone can participate safely and effectively.
- Offer refreshments and snacks to keep volunteers energized and motivated throughout the day.
Offer Gardening Workshops
Hosting gardening workshops and educational sessions can help community members learn valuable skills and techniques for gardening. It also provides an opportunity for participants to share knowledge and expertise with one another.
- Invite local gardening experts to lead workshops on topics such as planting, watering, and pest control.
- Encourage participants to ask questions and engage in hands-on learning activities during the workshops.
- Provide resources and materials for participants to take home and continue learning outside of the workshop setting.
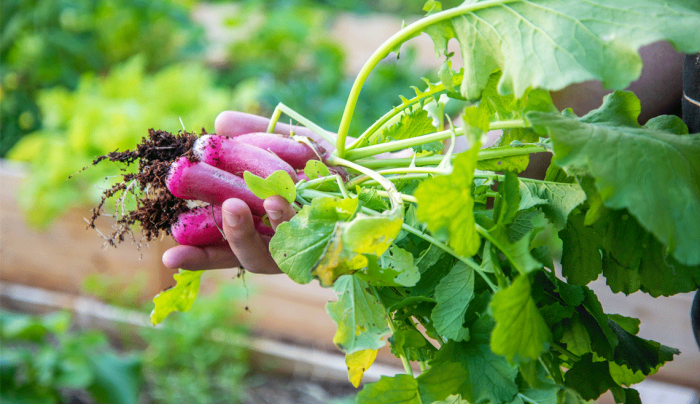
Create a Produce Sharing System
Establishing a system for sharing the produce grown in the community garden ensures that everyone can benefit from the harvest. It promotes a spirit of sharing and cooperation among participants, strengthening the sense of community.
- Set up a schedule for harvesting the produce and distributing it among participants.
- Encourage participants to share recipes and cooking ideas using the garden’s fresh produce.
- Consider donating excess produce to local food banks or shelters to give back to the wider community.
Last Point

In conclusion, starting a community garden is not just about planting seeds—it’s about nurturing connections and cultivating a sense of belonging. These 3 steps pave the way for a flourishing garden that brings people together and enriches the community spirit.